Yodoo Systems portal allows you to use cloud service based on the Odoo ERP / CRM platform for automation and management of business processes of the company or enterprise. To get started, user registers on the portal and accesses his personal cabinet where he can manage his own Odoo databases, send service requests, monitor their execution, etc. The created database is customized depending on the activity and needs of the client by installing and setting up necessary modules (as a constructor). You can also choose template solutions with installed modules and configured business processes.
With our services, the client can do his own business without spending time and money supporting IT infrastructure and database administration.
Registration
To register on the portal do the following steps:
-
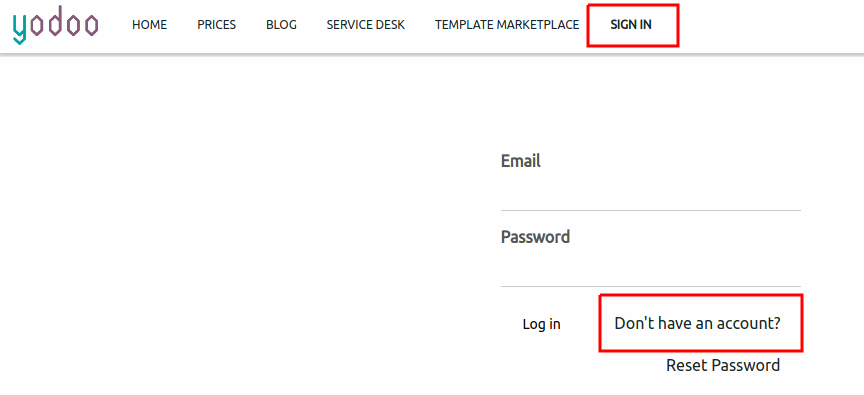
Click Sign in. On the page that opens, click Don't have an account?
-
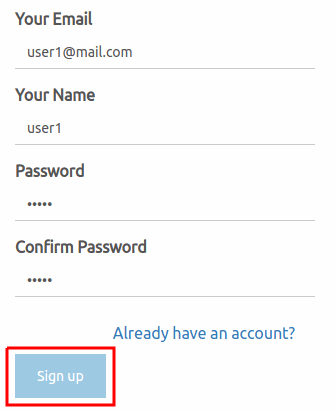
A registration form opens. Fill in the form:
-
Enter Your Email
-
Your Name
-
Password
-
Confirm Password
-
Click Sign up
-
-
You will be registered and redirected to your personal cabinet.
Quick Start
To quickly start working with databases, click Try It Free on the home page.
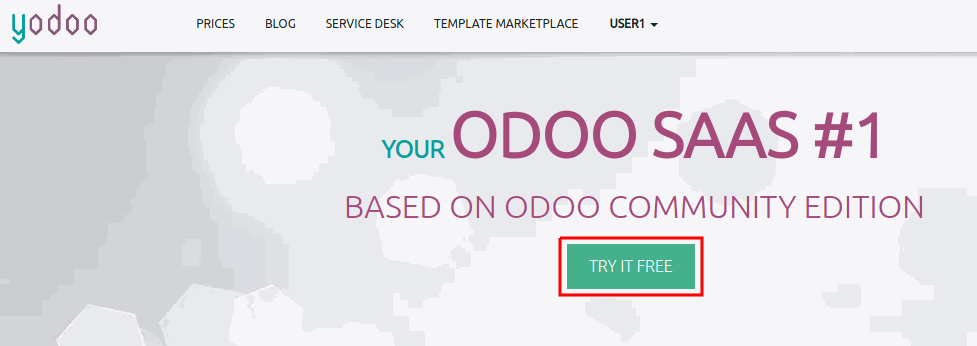
If you are already authorized on the portal, you will go to the database creation. Otherwise, you will need to register and authorize.
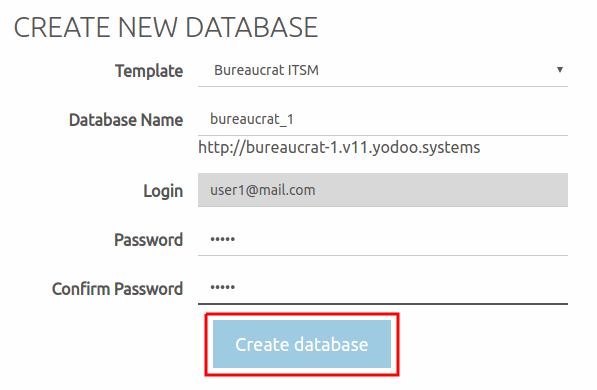
On the form for creating a new database do the following:
-
Select the database template for your needs. You can select Base template and install all the necessary modules manually or select one of the pre-configured templates. For more information on the templates, read the Template Review section below.
-
Enter the database name. This name will be the prefix in the URL to the crated database (http://your_db_name.v11.yodoo.systems).
-
Login for the database will be automatically set as your email.
-
Specify the password for entering the database.
-
Click Create database.
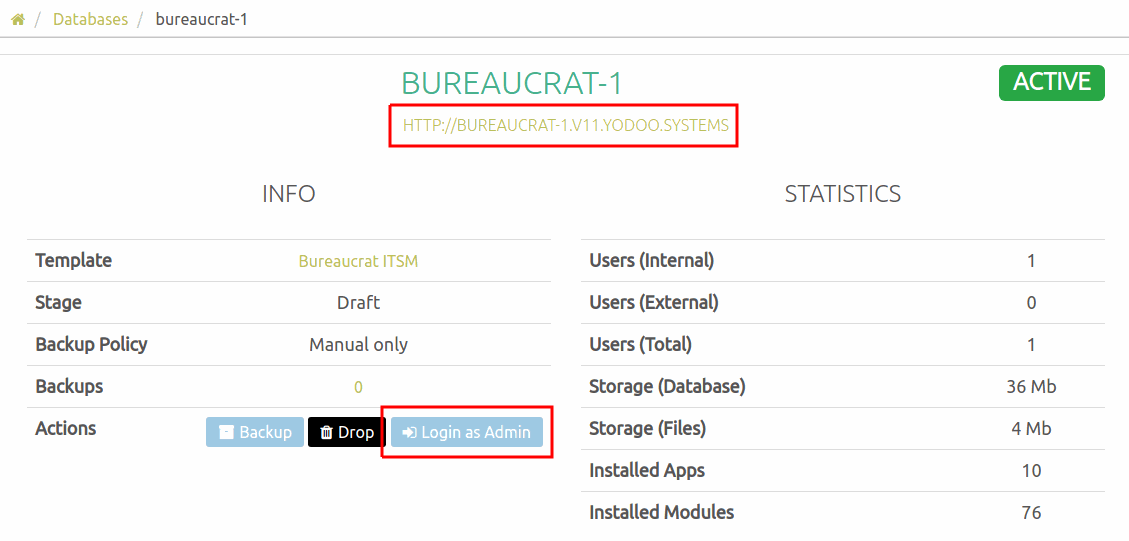
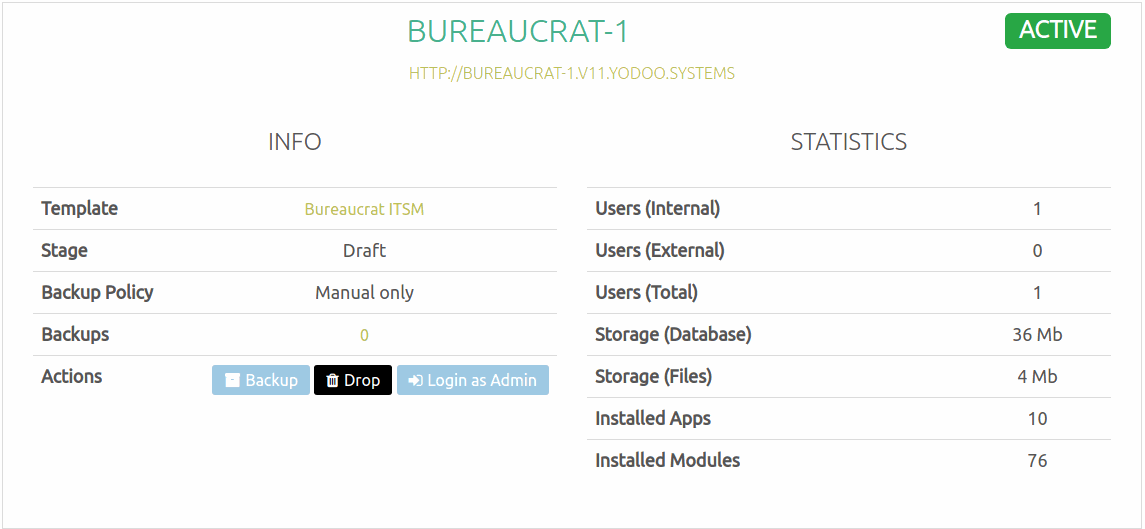
In a few seconds the database will be created. A page opens with the detailed information on this database. -
You can enter the database as an administrator by clicking Login as Admin (with admin rights in apps and settings). Or you can enter the database as a user by clicking the database URL.
-
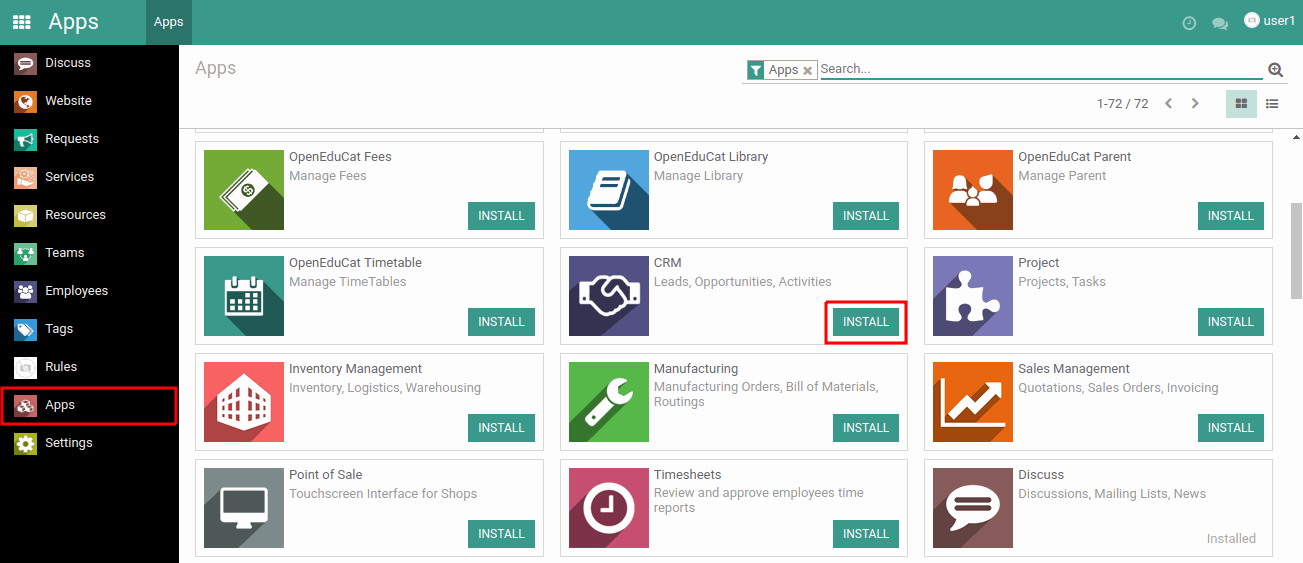
Your database will open, you can get started. To install applications and modules manually, click Apps, select the necessary module from the list or use the search, and then click Install.
Templates Review
Templates are databases with installed and customized applications that are adapted and ready to be used in certain business activities. You can see available templates with a description below. The list of templates is gradually supplemented. Next to the template name, you can also see the version of Odoo used in this template.
Available Templates Are:
1. HRMS - template with apps for HR management
2. HRMS (with demo data) - HR management, template contains demo data
3. Bureaucrat ITSM - this template allows to organize incident management system of the company
4. Base - a clean template with only base modules installed. Use it if you want to install necessary modules manually
5. Base (with demo data) - a template for demonstration of Odoo's capabilities. Installed apps will contain demo data
Database Management
As an authorized user, you have access to the database management tools in the personal cabinet. You can create, delete, restore databases, make and download backups.
To manage databases, enter your personal cabinet, and then click Databases.
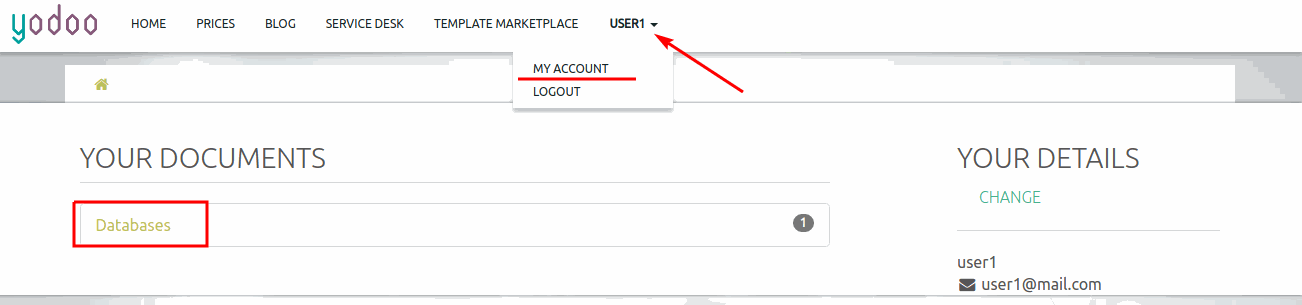
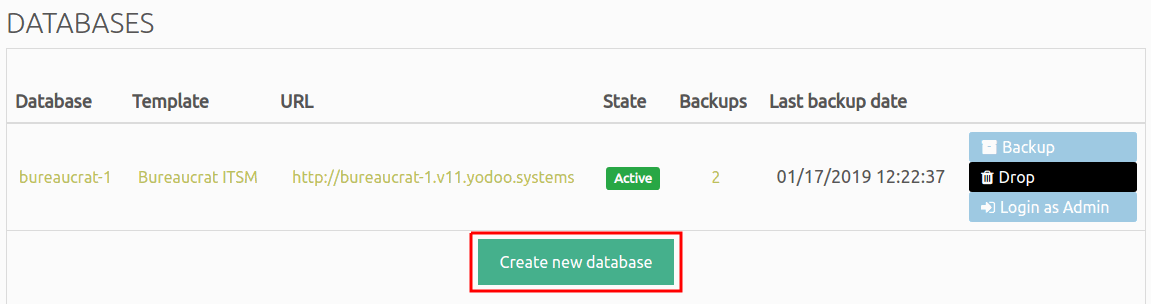
A page with databases opens. All database operations are available here.
-
You can view detailed information about the database by clicking on the database name. You will see the database template, backup policy, backups, number of internal and external users, storage information, number of installed apps and modules. Also you can remove, recover and backup database from here.
-
By clicking on the template, next to the database name, you will be redirected to the Template Marketplace where you will be able to create a new database by this template.
-
You can enter the database by clicking database URL.

-
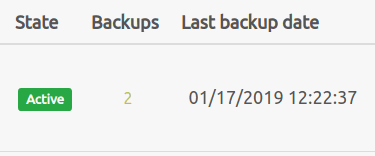
You can also see database state, number of backups and last backup date in appropriate columns.
-
To create a new database, click Create new database at the bottom of the page.
-
You can drop, backup database or login as administrator by clicking the appropriate buttons on the right.

-
If the database was deleted, you can restore it by clicking the Restore button.
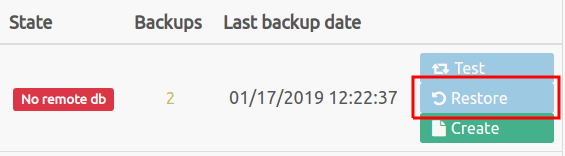
A page with backups opens. You can select one of the backups to restore the database.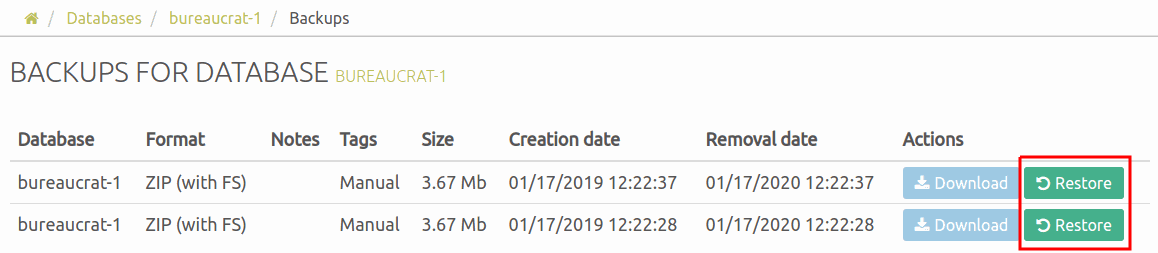
-
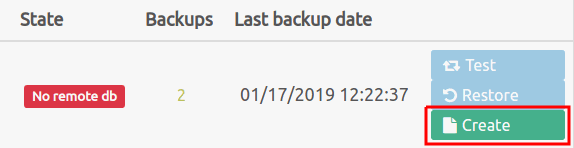
Also instead of deleted database, you can create a new one with the same template and name - just click Create.
Template Marketplace
Template Marketplace allows you to see available templates with more detailed information and to create a database by the chosen template.
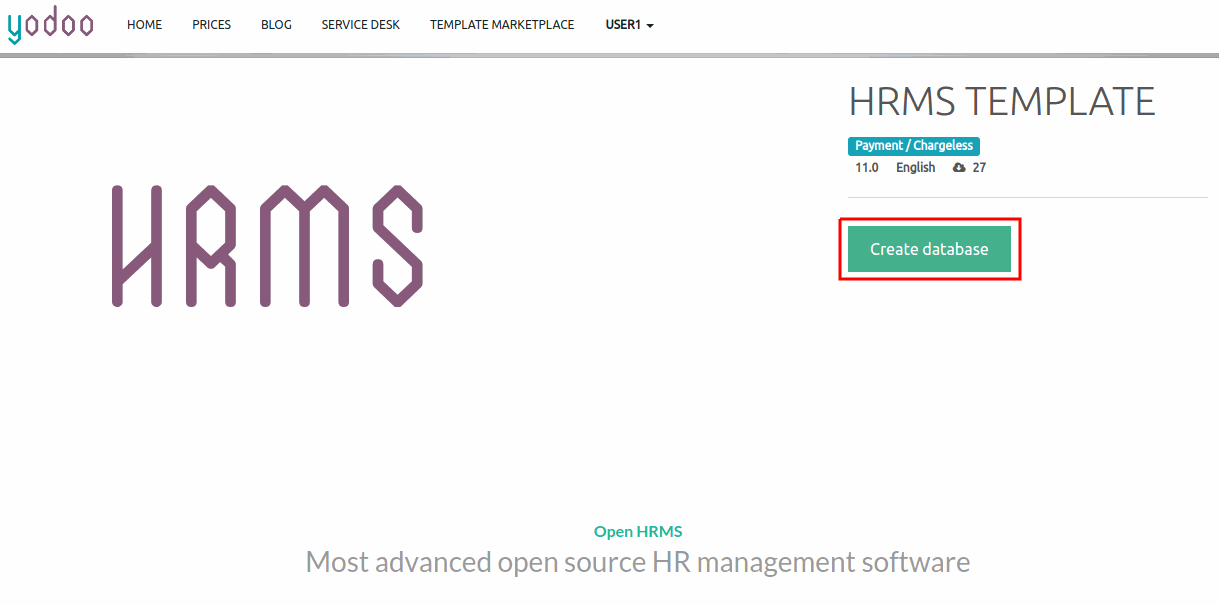
To create a database, enter the Template Marketplace and select the necessary template. On the template's page, click Create database. A form for database creation opens (follow the instructions from the Quick Start section).
Service Desk
Customer support is provided through the request submitting mechanism. You can report an incident or bug, get assistance on technical issues, order a tariff plan, etc.
To submit a request, log in to the portal and follow the next steps:
-
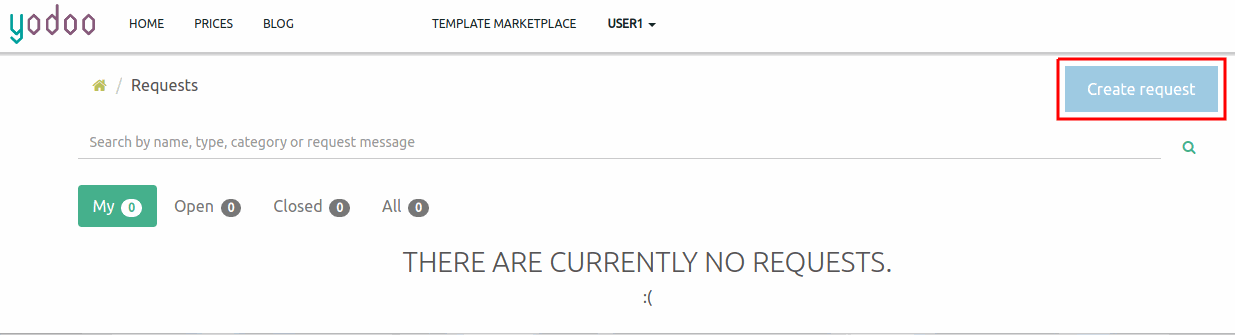
Go to the Service Desk page.
-
Click Create request.
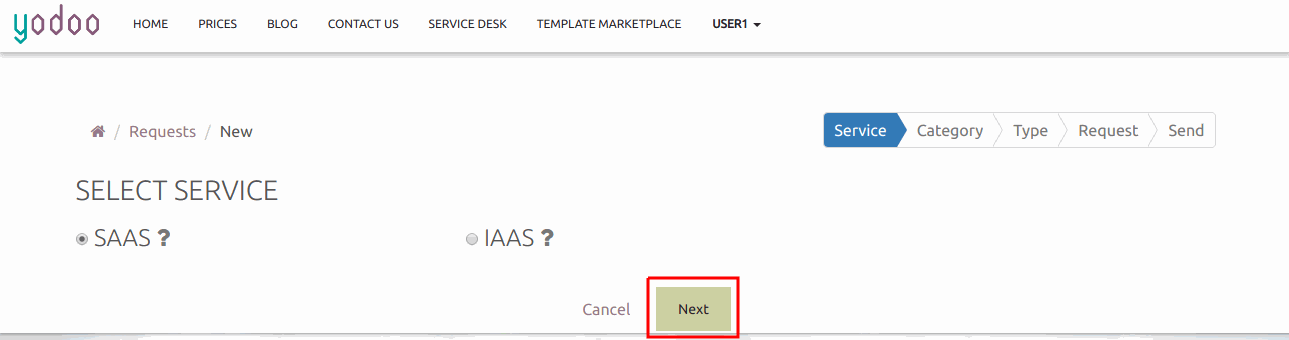
To submit a request, you need to select step by step service, category and type of request. In some cases (for example, there is only one category or type of request), a service, category or type can be selected automatically. In the top right corner, you will see the navigation bar that displays the current stage of the request submitting. You can navigate between these stages by clicking the Next and Back buttons. -
If necessary, select the service, category and type of request.
-
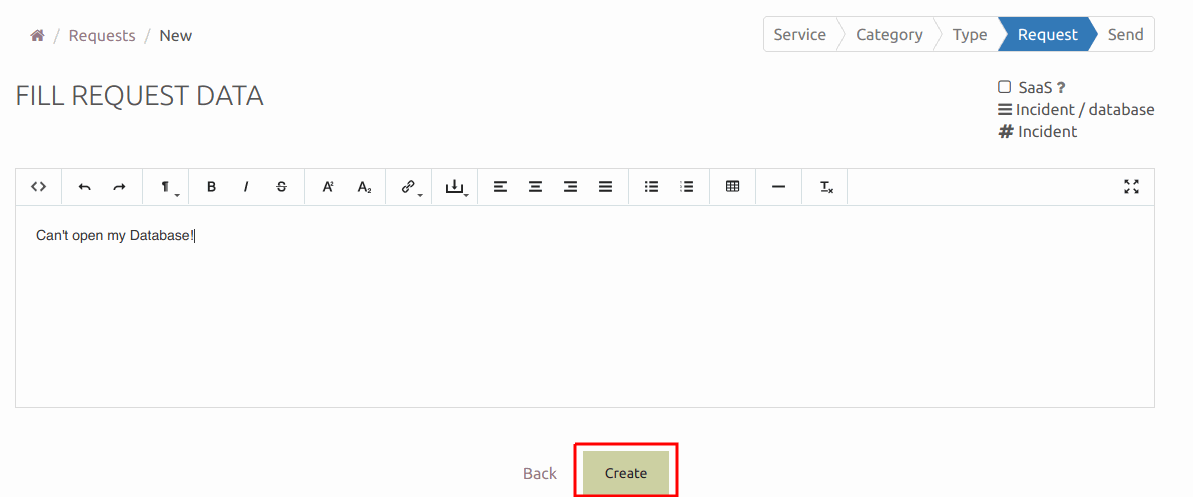
On the Request stage, specify the request data in the text box. You can format the text using integrated text editor. Images can be attached using the editor's control panel or simply by clicking Ctrl+C -> Ctrl+V. After filling in the request, click Create.
The request will be created and you will recieve an appropriate message.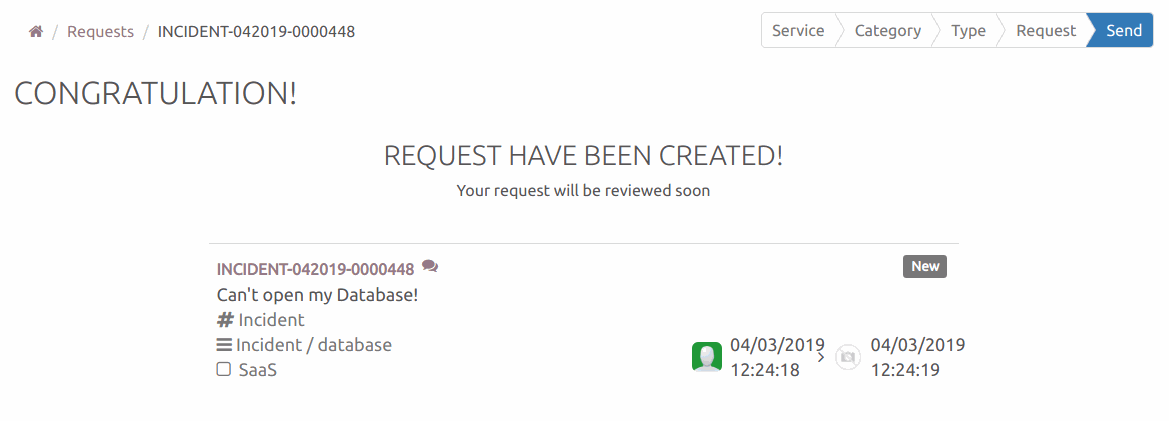
-
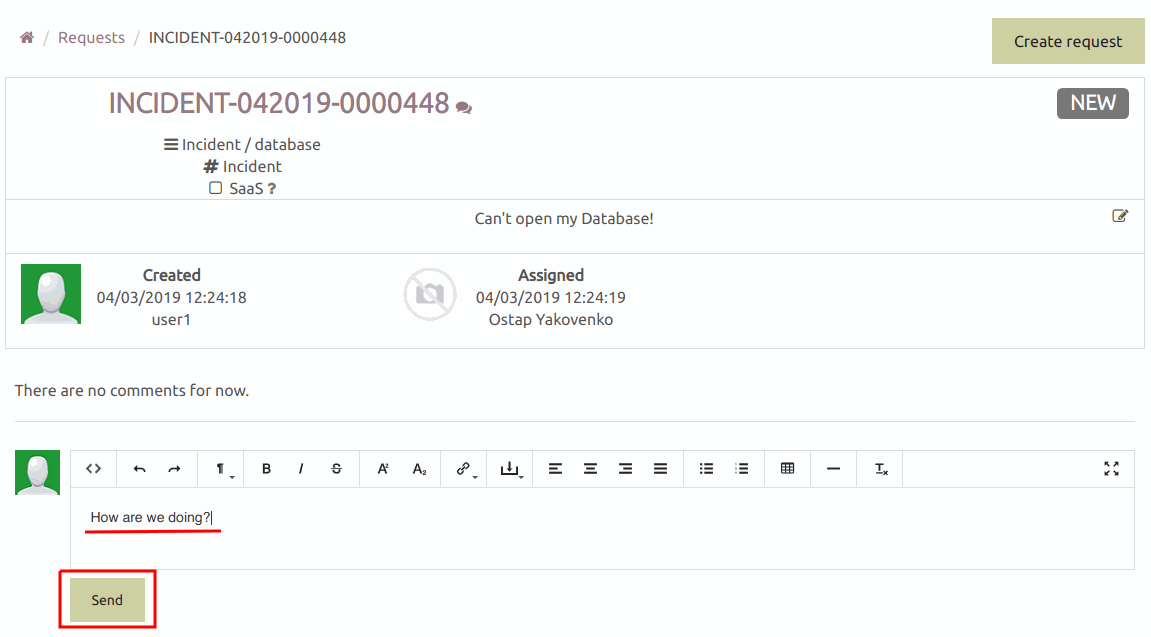
You can view created requests and monitor their execution on the Service Desk page.
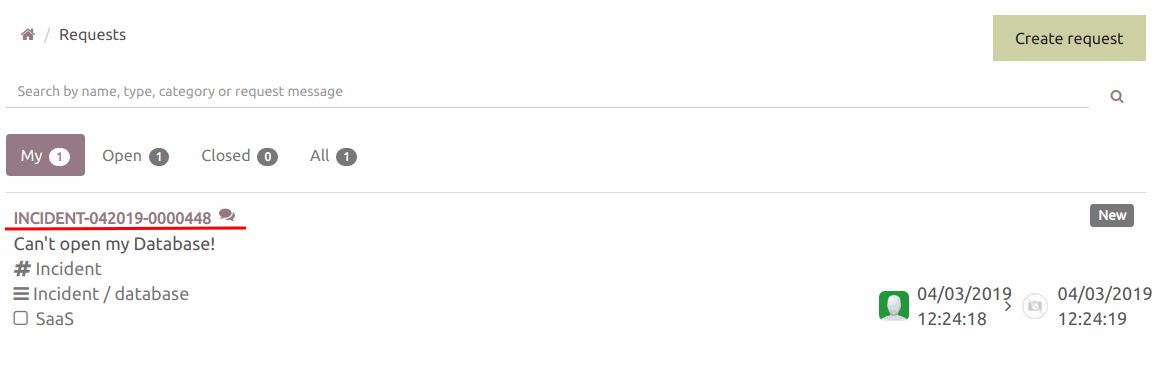
Clicking on the request name, you will see a detailed information on this request. You can also chat with request operators here.